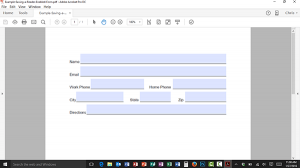
 If you don’t already know it, you’ll quickly run into a basic issue when making forms in Adobe Acrobat: you are using Adobe Acrobat Pro or Adobe Acrobat Pro DC, but most of your users are probably using Adobe Acrobat Reader. The difference is simple: the Pro version of the program costs money while the Reader version is free.
In days of yore that meant that your users could fill in your form and print it out, but they couldn’t save any data they typed in when they closed the form. Frustration abounded! Luckily, that’s no longer the case.
Make a Reader Enabled Version of your Form
- Click the File menu.
- Hover on Save As Other
- Hover on Reader Extended PDF in the flyout menu.
- Click on Enable More Tools (includes form fill-in & save)…
- Click Save Now in the warning dialog.
- Change the name of the form so that you know it is the reader enabled version.
- Click Save.
Important Warning: Always Create Two Versions of your Form
I want to stress how important it is to create a second version of your form with a new name that clearly labels it as being reader enabled. Once a form has been reader enabled you won’t be able to edit it. So if you save over the original file with the reader-enabled version you would have to go all the way back to the beginning and start all over again.
If you don’t know how to create a form in Acrobat Pro, please be certain to check out my previous tip Creating a Form that Users Can Complete on their Computer.


